In the competitive world of retail, your product’s packaging is often the first physical interaction a customer has with your brand. It’s a silent salesperson, a brand ambassador, and a crucial part of the customer experience. An idea for the perfect box is one thing, but turning that concept into a tangible, high-quality reality involves a detailed process with many important decisions. For businesses looking to create a memorable unboxing experience, ordering custom tuck boxes is a popular and effective solution, but navigating the journey from design to delivery can seem complex.
This guide is designed to demystify that process. We will walk you through every critical step, from the initial spark of an idea to the final delivery of your beautifully crafted packaging. By understanding each stage, you can ensure your vision is executed flawlessly, resulting in a box that not only protects your product but also elevates your brand.
1. Defining Your Vision: The Conceptualization Phase
Before you can approach a supplier, you need a clear vision for your packaging. This is the foundational stage where you answer the big-picture questions. What is the primary purpose of this box? Is it for a luxury retail product, a subscription box, or a promotional gift? Who is your target audience, and what aesthetic will resonate with them? Consider your brand identity—your logo, color palette, and overall message—and think about how the packaging can be a seamless extension of that identity.
2. Choosing the Right Partner for Your Project
Once you have a concept, your next step is to find a supplier who can bring it to life. The right partner is more than just a printer; they are a consultant who can offer expert advice on materials, finishes, and structural design. Look for a company with a strong portfolio, positive customer reviews, and a clear, transparent process. A specialized provider like custom printed box can offer the expertise needed to guide you through the specific requirements of high-quality, bespoke packaging.

3. Understanding the Anatomy of a Tuck Box
Not all tuck boxes are created equal. The style of the “tuck” itself has a significant impact on both the user experience and the structural integrity of the box. The two most common styles are the Straight Tuck End (STE), where both the top and bottom flaps tuck into the back, creating a clean front panel, and the Reverse Tuck End (RTE), where the flaps tuck in opposite directions. The STE is often considered more premium, while the RTE is slightly more economical to produce.
4. Selecting the Perfect Material and Stock
The material you choose will define the look, feel, and durability of your box. For most retail products, paperboard (also known as cardstock) is the standard, available in various thicknesses measured in points (PT) or grams per square meter (GSM). Kraft paper offers a natural, rustic, and eco-friendly aesthetic, while corrugated cardboard is the best choice for heavier items or products that require extra protection during shipping.
5. The Creative Process: Designing Your Artwork
This is where your brand’s personality truly comes to life. Your artwork should be clean, professional, and aligned with your brand identity. Ensure your logo is prominent and your color choices are consistent. When setting up your design files, it’s crucial to work in a CMYK color model for printing, as this will ensure the colors on the final product match what you see on your screen. Include all essential information, such as product details, ingredients, or instructions, in a clear and legible font.
6. Adding the Finishing Touches: Special Finishes
To make your packaging truly stand out, consider adding special finishes. A matte lamination provides a sophisticated, non-reflective surface, while a gloss lamination makes colors pop and adds a high-end shine. Other popular embellishments include:
- Spot UV: Applying a glossy varnish to specific areas (like a logo) to create a striking contrast with a matte background.
- Foiling: Stamping a thin layer of metallic foil (often in gold, silver, or rose gold) onto the box for a touch of luxury.
- Embossing/Debossing: Raising (embossing) or indenting (debossing) a part of the design to add a tactile, three-dimensional element.
7. The Critical Importance of Prototyping
Before you commit to a full production run of thousands of boxes, you must get a sample. A physical prototype is the best way to test the structural integrity of the box, check the fit of your product inside, and see how your printed colors look in person. Most reputable suppliers will offer a sampling service, and while it may come at a small cost, it is an invaluable step that can save you from a costly mistake.
8. Submitting Your Final Artwork for Production
Once you have approved the prototype, it’s time to submit your final, print-ready artwork. Your supplier will provide you with a dieline template, which is a flat, 2D layout of your box that shows all the cut lines and creases. You will need to place your artwork onto this template using a design program like Adobe Illustrator. Always export your final file as a high-resolution, print-ready PDF, ensuring all fonts are outlined and images are embedded.
9. Navigating the Production Process
After you submit your final files and confirm your order, your boxes will enter the production phase. This typically involves several stages: printing the flat sheets of paperboard, applying any special finishes, die-cutting the box shape, and finally, folding and gluing the boxes. The complexity of your design and the quantity of your order will affect the production timeline, so be sure to get a clear lead time estimate from your supplier.
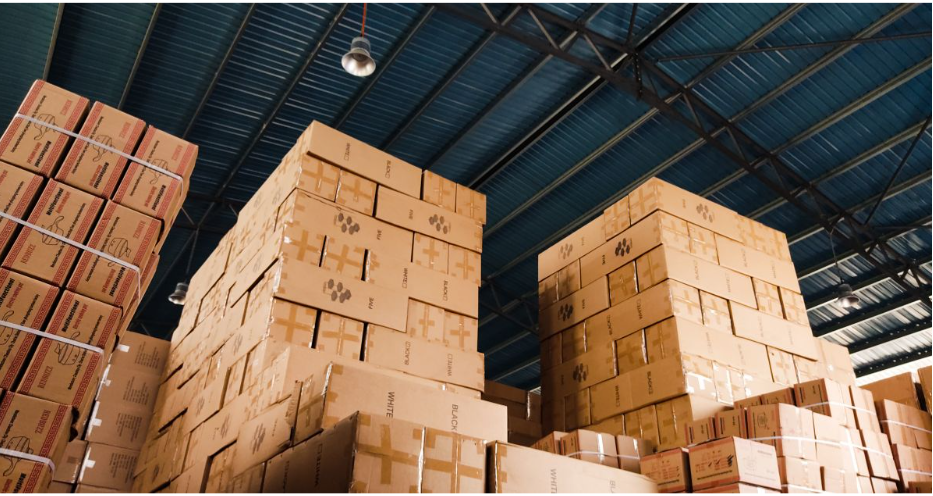
10. Logistics: Shipping and Receiving Your Order
Your custom boxes will almost always be shipped to you flat-packed to save on space and shipping costs. When your order arrives, it is crucial to perform a quality control check. Randomly select a few boxes from different cartons and assemble them. Check for any printing errors, ensure the colors are correct, and confirm that the construction is solid.
11. The Final Step: Assembling and Using Your Boxes
The final stage of the journey is the assembly. Most tuck boxes are designed to be folded into shape easily and intuitively. Once assembled, they are ready to be filled with your products, creating the memorable and professional unboxing experience that you first envisioned. This final, beautifully crafted box is the culmination of a detailed process, a tangible piece of your brand that your customers can hold in their hands.