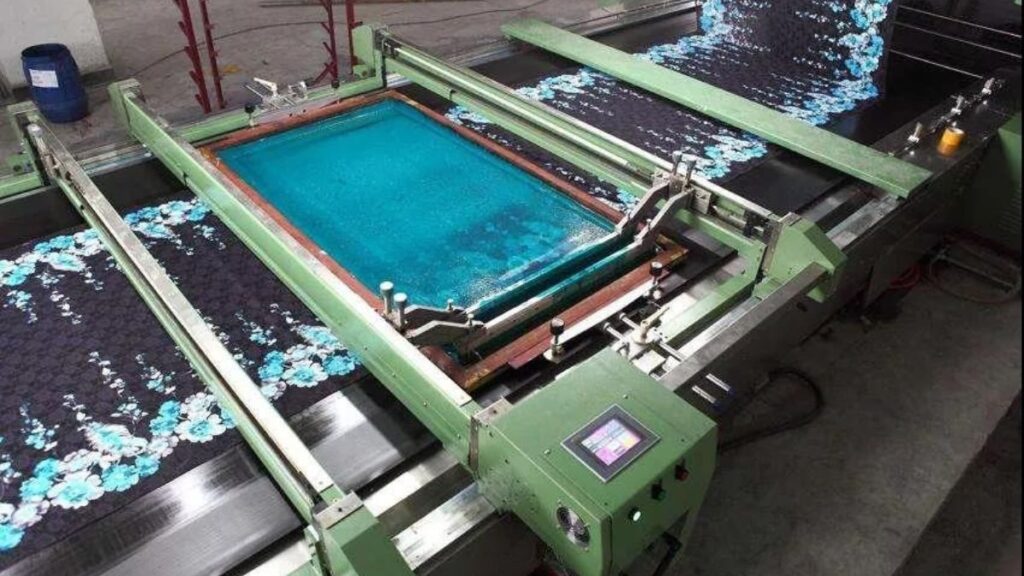
In resin 3D printing, a film is installed at the bottom of the resin vat. These films are usually FEP, nFEP, or ACF. And while the quality and placement of these films matter the most, a lot of people tend to forget that they must care for the film, too.
Sure, the resin type, slicer setting, and other 3D printer settings are essential, but neglecting the film installation on the resin vat can lead to numerous problems. Some of these problems are what we’re discussing today.
We will also discuss the reasons behind these issues and how to address them, specifically those caused by improper resin film installation.
Layer Shifting/Ghosting
One of the most common problems and film defects can manifest in the form of layer shifting or ghosting. This happens when the film is too loose or the tension is not even. When that happens, the LCD light beneath the vat doesn’t pass through the resin.
Moreover, that light scatters across all areas, causing something called “Ghosting,” which can also be called duplicate layers. This happens because loose film will create micro-movement during the peel process. Ultimately, the layers get pulled inconsistently, leading to messed-up curing and misalignment.
How to Fix?
You should always install film at the manufacturer’s recommended settings. Or, you can get a quick-release resin vat that will apply tension evenly. One of the best examples of that is Chitu System’s Hoopat Quick Release Resin Vat, allowing you to provide tension evenly to all sides.
Once the uniform tension is applied, you should gently press the center of the film. If it bounces back and makes a little drum-like noise, then it’s good to go.
However, if you have a standard vat, then you should use a screwdriver to tighten all sides evenly.
Failed Print Detachment
Sometimes, the print sticks to the film instead of the build plate. This means that it will entirely fail at the bottom of your vat, making the whole 3D printing process go to ruin. This happens due to poor film installation when it’s either too tight or has wrinkles, affecting the overall peel force.
So, instead of peeling smoothly, the resin bonds much more strongly with the film than the build plate, making the 3D print almost attached to it.
How to Fix?
Therefore, whenever an issue like this occurs, make sure that your film is smooth and has no wrinkles during the installation process. If it is overtightened, then loosen it. You need to have the perfect flexibility according to the manufacturer’s guidelines.
Lastly, you should always keep the film clean in case any residue or scratches happen. Those will also increase the overall adhesion.
Uneven Surface Finish
One of the biggest issues with resin 3D printing is achieving a smooth surface. However, sometimes, these prints can have lines, pits, or awkward patterns, not making it look smooth like you originally intended.
This is a common issue and happens due to a poorly installed lens. So, it isn’t flat and then acts like a lens. The ultraviolet rays that pass through are distorted, leading to inconsistent depth and a lot of surface irregularities.
How to Fix?
As you are installing the film, make sure to stretch it evenly across all the edges before you tighten the screw. Moreover, you can also place the vat on a flat surface during the installation process to avoid any distortion. Lastly, make it a habit to regularly inspect for sagging or wrinkles when you install the film.
Peeling Mid Print
Mid-print peeling is one of the worst nightmares of any 3D printing user. Sometimes, the result is half-finished or brittle models. And while we have a lot of other reasons for a brittle print, one commonly overlooked reason is an uneven tension of the film.
The peel resistance is increased, and instead of separating smoothly, each peel gets pulled on the print, causing a layer of delamination or even cracking in the most extreme cases.
How to Fix?
Before you print, make sure that all the film is consistently tensioned across all edges. Even after doing so, if delamination occurs, you should reduce the layer exposure times slightly to prevent things like over-curing. Moreover, this issue can also occur if there’s a scratched film because it adds unnecessary adhesion.
Warping or Distortion
The models can come out warped, stretched, and sometimes distorted compared to the digital design that you have always envisioned. This can happen due to a plethora of reasons, but one of the most common issues is poor film installation. During the printing process, uneven peel force can occur, and due to being slightly off angle, the resin is cured differently, making the print warped.
How to Fix?
The best thing you can do here is to double-check the films to make sure they are evenly tensioned across all the edges. Moreover, you can even inspect screws since they could have an uneven torque, causing this shift.
Final Verdict
Whether your prints are being warped or the surface finish is uneven, one of the most innovative solutions you can get is Chitu Systems’ Hoopat Resin Vat to ensure that your film can be installed in just 30 seconds.
This saves you time and effort while providing your films with consistent tension across all edges. Moreover, you don’t even need to trim the edges after installation since everything is automated here with a screw-free design.
If you want more 3D printer accessories, then you should check Chitu Systems’ 3D printer accessories out.